

I happened to get together with my friend a few days ago, but I haven't been able to post the report lately. Also, some other things. I only have these 3 armies, so until one of my friends makes one I'll be mostly stuck with these. I am however playing a game this Sunday which I will post that week, and I think it will be against Soviets but I am not yet sure, and it will have 3d terrain instead of the 2d terrain that I have. With every battle report I post, I will list when I expect the next one to be posted. The next one after this will be posted this coming Tuesday. In this game, I played my beloved SS Freiwilligen, and my friend borrowed my British Armored company again. Comments are always welcome as well.
We rolled for the mission and got Surrounded.
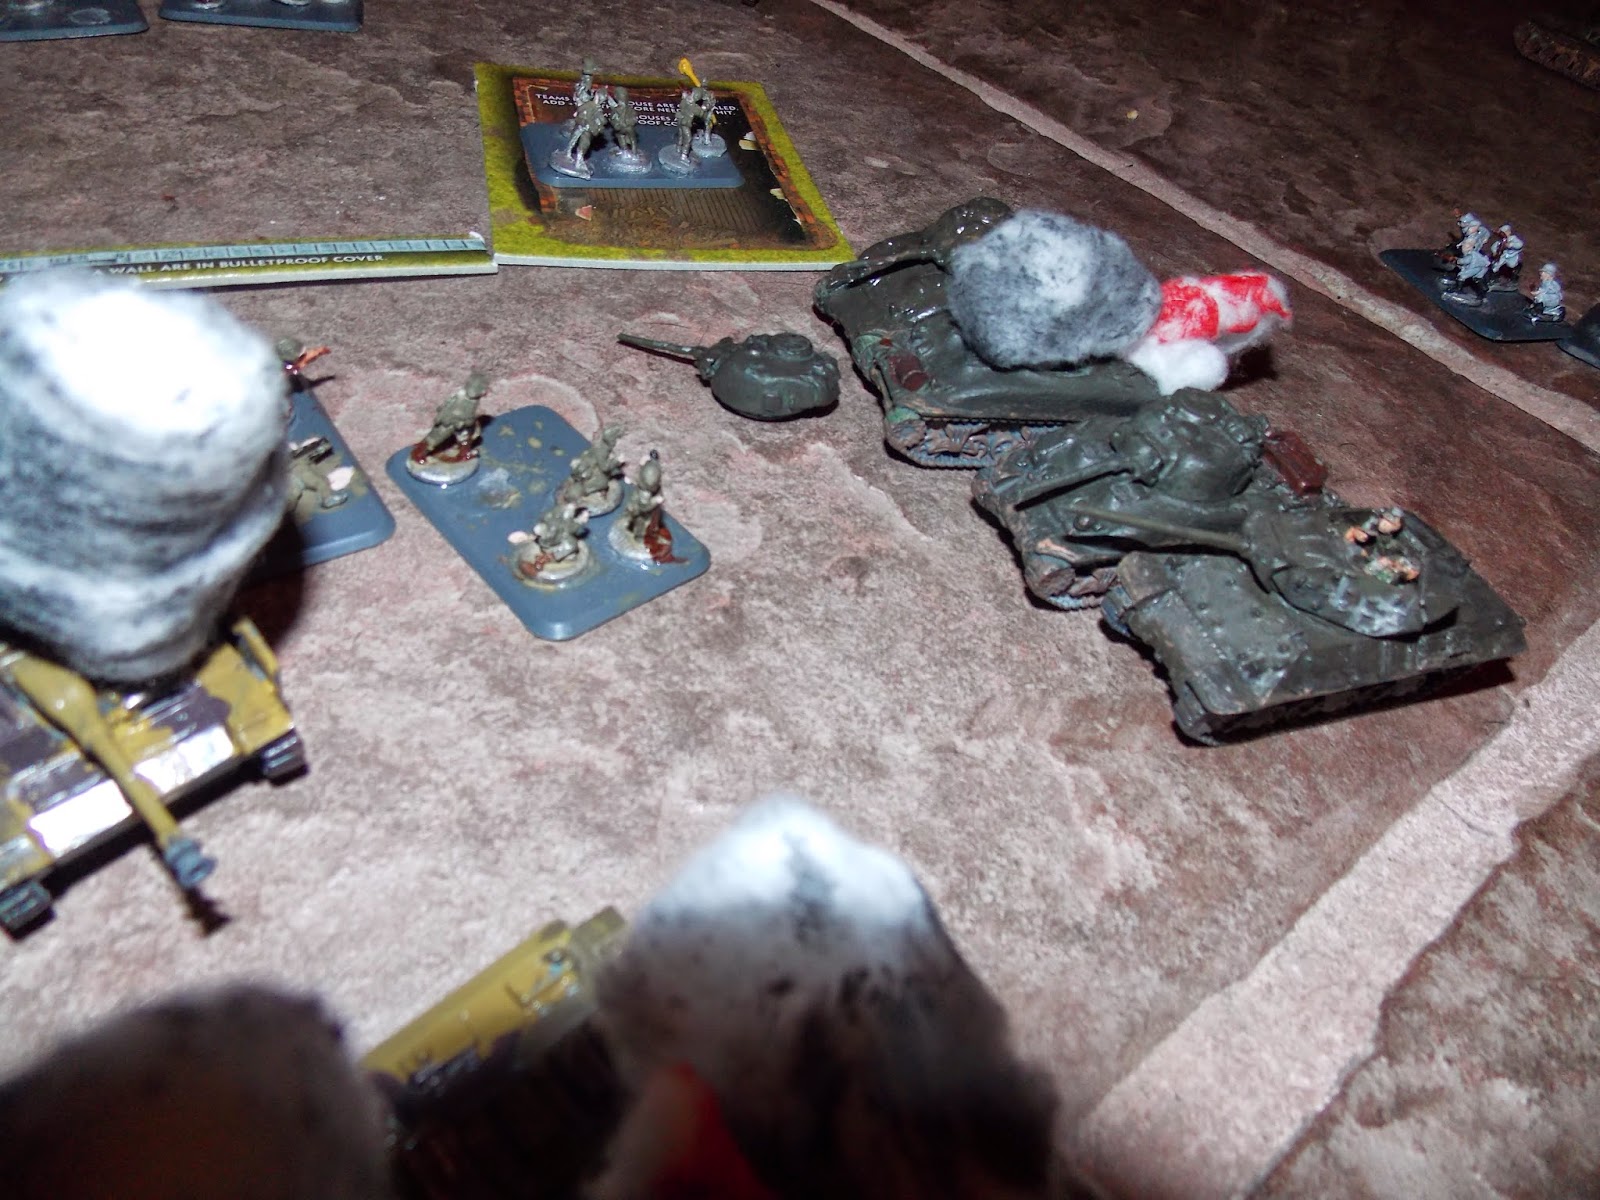
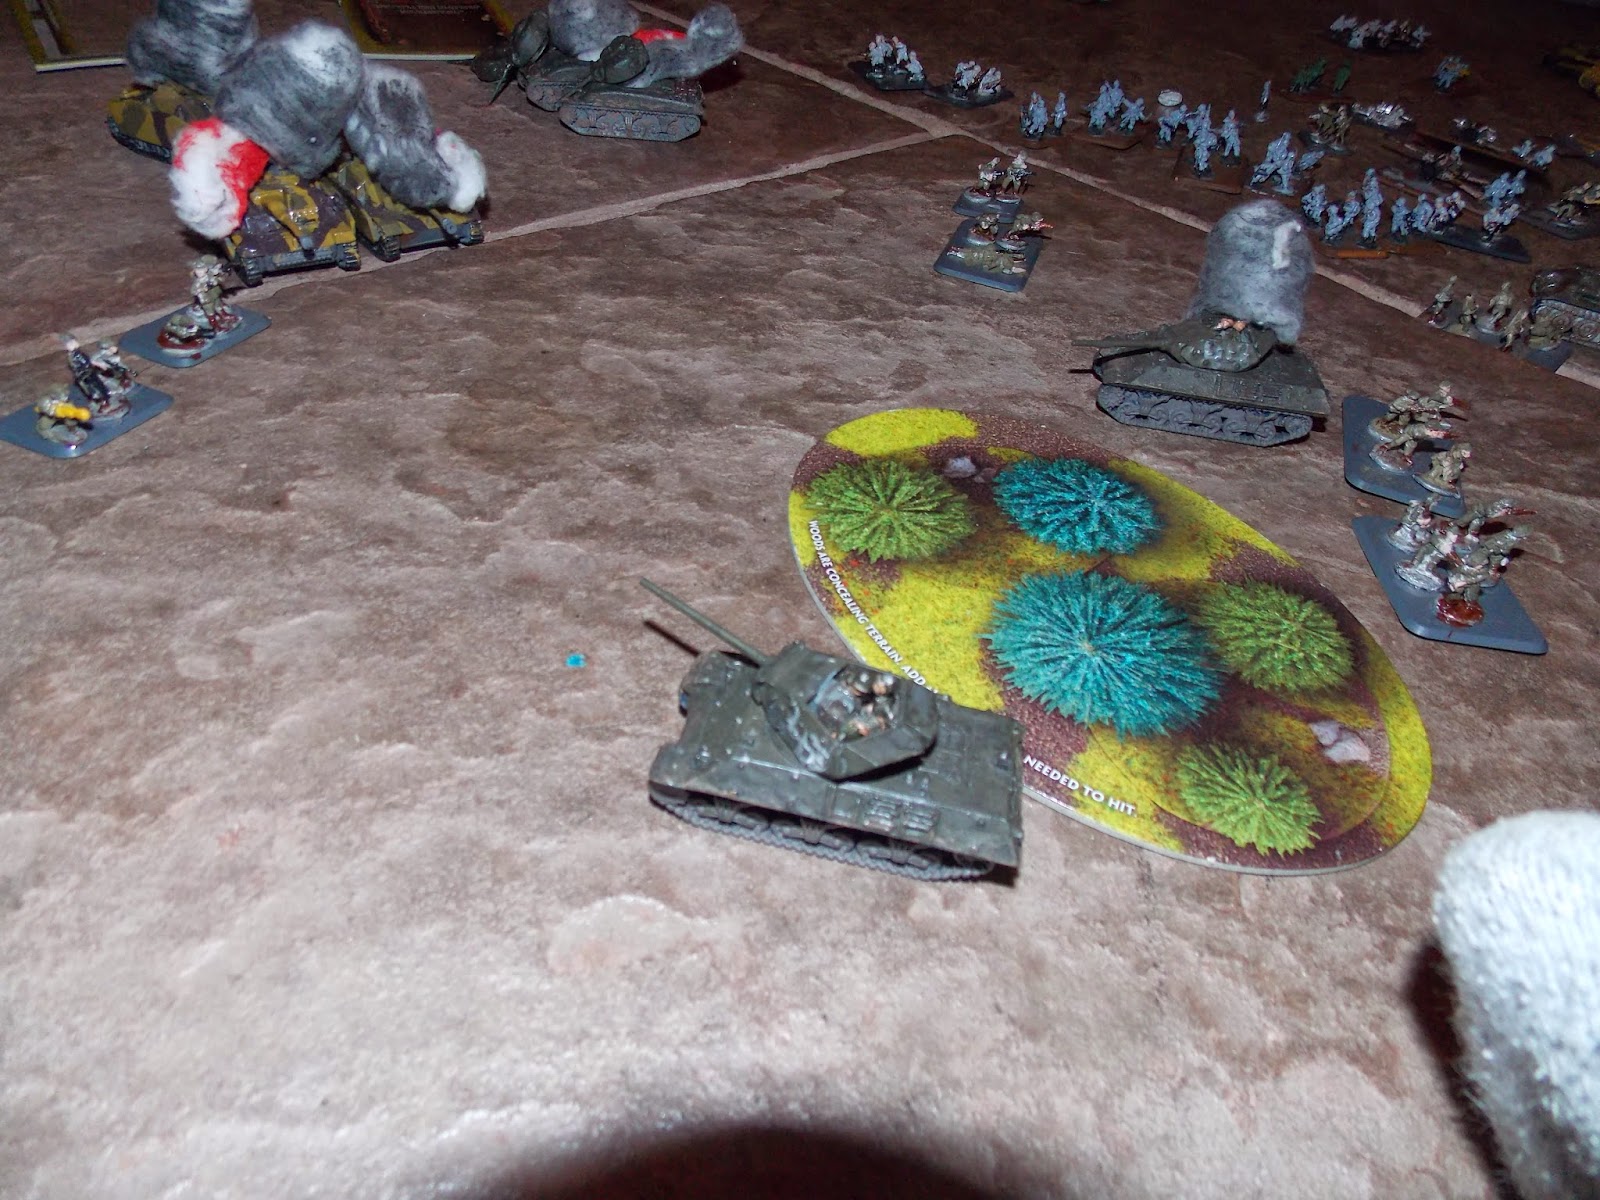
The board

After Deployment

Attacker's thoughts- I will strike hard on his right flank and destroy his StuGs while staying out of line of sight of those 88s. Though they have failed in previous games to kill anything, I would rather not push my luck. Once my two forces meet and he has lost his StuGs and PAK40s, I'll be able to lure his infantry out of their holes and MG them up.
Defender's thoughts- I'll have to swing my infantry on the far sides of the board across to the action quickly as soon as he is in the thick of fighting. With that I should be able to carry the day.
British Turn 1
Tanks on both sides storm forward, and the infantry move behind the small woods to stay out of the way of the ROF 3 MGs. One Sherman has to go through the woods, and surprisingly passes his bog check. Everything shoots, but nothing hits. Stupid prepared positions.
Where are they?

German Turn 1
The StuGs go straight to shooting at the HQ Shermans. 6 shots needing 4s, what could go wrong?


British Turn 2
The M-10s light up two of the StuGs, but HQ cannot finish off the other one.

The under strength Sherman platoon shoots the PAK40s to no result. But when the full strength platoon shoots...


German Turn 2
The StuGs stick around, but the PAK40 command flees for their lives. Although in surrounded, I'm not quite sure where he would flee to. The lone StuG kills one M-10, then stormtroopers behind the burning wrecks of his teammates.

British Turn 3
Everything moves up, ready to avenge the loss of the M-10.

His buddy sends the last StuG up in smoke. The Sherman platoon fails to inflict any casualties on the infantry, but both 88s go down. This is not looking good for the Dutch Volunteers.
German Turn 3
Everything moves up for the infamous #@%! it move.
For Germany!

The infantry prepare to assault the company HQ with Joe.


The aftermath of the epic assault

British Turn 4
The lone M-10 pulls back while the paras move up and take out an MG stand.
The Shermans on the other side of the board also kill a stand of Freiwilligen.
German Turn 4
I'm still alive! The fearless Freiwilligen move up and prepare to assault the paras. The other infantry move up to assault the tanks on the other side of the board.


The Freiwilligen go into the assault after pinning the paras and taking out 3 stands. They assault with none hit in defensive fire, and manage to kill 2 stands. The paras come back but only kill 1 stand. The Germans charge in again, believing the cause is bigger than them, and get only one kill. The paras come back but miss their swing. The SS finally finishes the paras off for good, again leaving the poor M-10 all alone.

British Turn 5
The M-10 moves through the forest, now desperate to avoid the seemingly immortal Freiwilligen.
The Shermans on the other side pin the Freiwilligen, but only kill one stand.
German Turn 5
The infantry unpin and decide not to shoot to deny the enemy defensive fire, and the other Freiwilligen surround the last M-10. The infantry assaulting the Shermans fails tank terror, but, I get some sweet revenge.

British Turn 6
Only 2 stands die of the Freiwilligen engaging the Shermans but they are pinned down.
German Turn 6

British Turn 7
Only one stand dies!
German Turn 7
The formerly large Freiwilligen quit the field, the remaining Freiwilligen on that side moves up into the woods and out of sight, and the company HQ digs in, having moved up the previous turn, ready to push the Germans forward should they need motivation.

British Turn 8
Nothing to shoot...
German Turn 8
For fun, the last Freiwilligen move up to assault, and the HQ move to assist. Defensive fire pushes them back and they loose 5 stands, but they decide to stick around.
At this point, we call a draw as it is getting late, the SS fought bravely, and and killed the company command plus Joe Vandeleur. The British withdraw, under cover of night, leaving on the field the wrecks of their comrades, with the Germans severely battered, but intact.
Defender's thoughts- That was insane, I never really expected to pull out a draw from what first looked to be a huge disaster. But, I guess I should never underestimate the capability of a force stacked with panzerfausts. Had the gone to ground infantry passed tank terror, things may have gone differently. But, that was the most fun game I have ever played in FOW and as usual, we will have a rematch at some point next week.
No comments:
Post a Comment